Getting started
Unboxing, Wi-Fi set-up, opening the web interface, time and placement.
Getting started
Switch on and connect to Wi-Fi
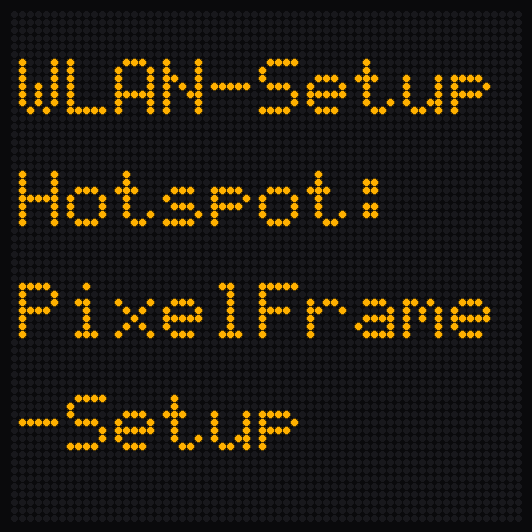
- Plug in the USB-C power supply (at least 3 A) – the clock starts and shows a set-up notice.
- On your phone or PC, connect to the Wi-Fi network
PixelFrame-Setup. - The set-up page opens automatically – otherwise enter
http://192.168.4.1in the browser. - Select your home Wi-Fi (2.4 GHz), enter the password, save – the clock restarts and connects.
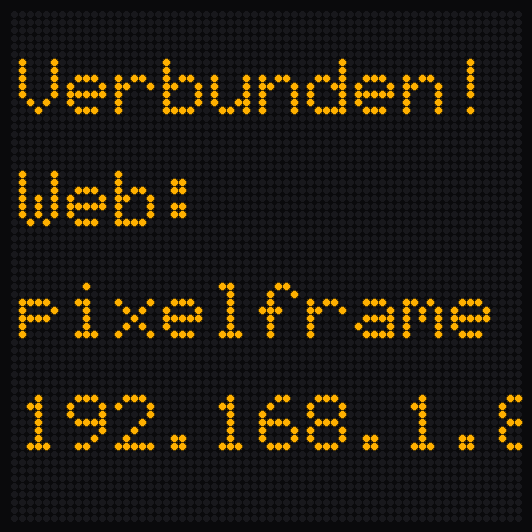
- After start-up the clock briefly shows its name and IP address. Open the web interface:
http://pixelframe.localor the IP shown.
What runs ex works
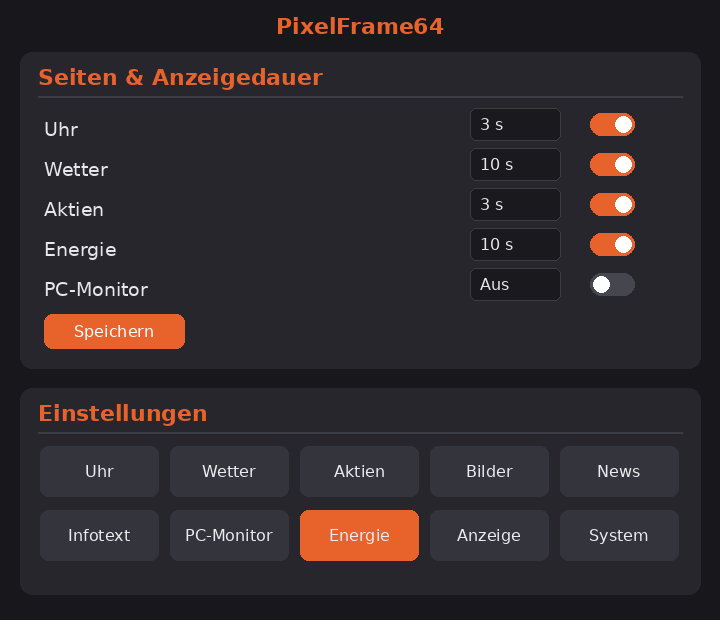
The clock starts with a ready-made demo: seven clock designs rotating, weather, a sample stock portfolio, news ticker (SRF) and an instruction ticker. Brightness 80 %, automatic orientation active. You can change all of it – this is just the starting point.
Time and time zone
The time comes automatically from the internet; the time zone is preset to Switzerland/Germany, including daylight saving time. If your network blocks the time server (e.g. Pi-hole or a restrictive router), the clock fetches the time after 25 seconds via a secured fallback – nothing to configure. The system page shows which time source is active.
Placement
The clock detects its own orientation (portrait or landscape, rotated). Place it however you like – the image rotates automatically.
Question not answered? Happy to help – reply usually within two working days.
Submit a support request To the help overview